AGENTS.md Tutorial


This tutorial walks you through creating an AGENTS.md file to customize your AI agent's behavior in Orchestra. By the end, your agent will follow the persona, rules, and instructions you define in a simple markdown file.
Prerequisites
Before starting, make sure you have:
- An Orchestra account at chat.ruska.ai
- Familiarity with markdown syntax
Step 1: Open Orchestra
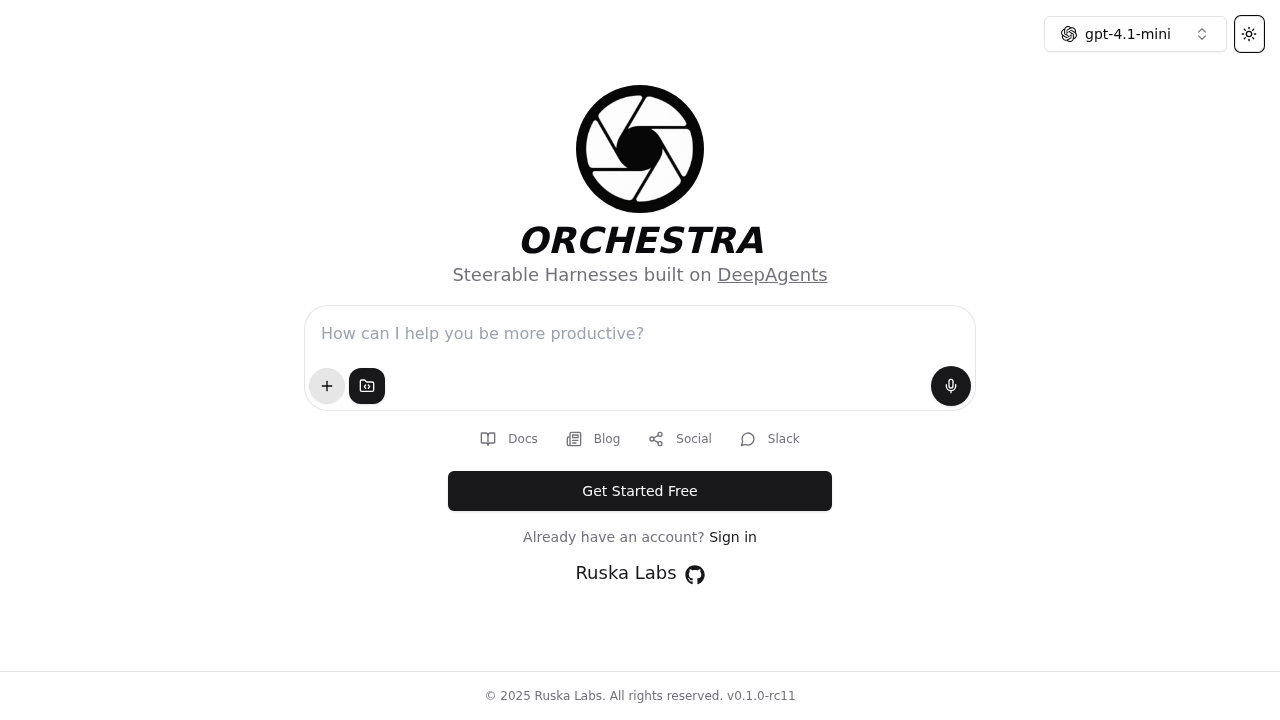
Navigate to chat.ruska.ai and sign in to your account. You'll see the main Orchestra interface with a chat input and model selector.
Step 2: Open the File Panel
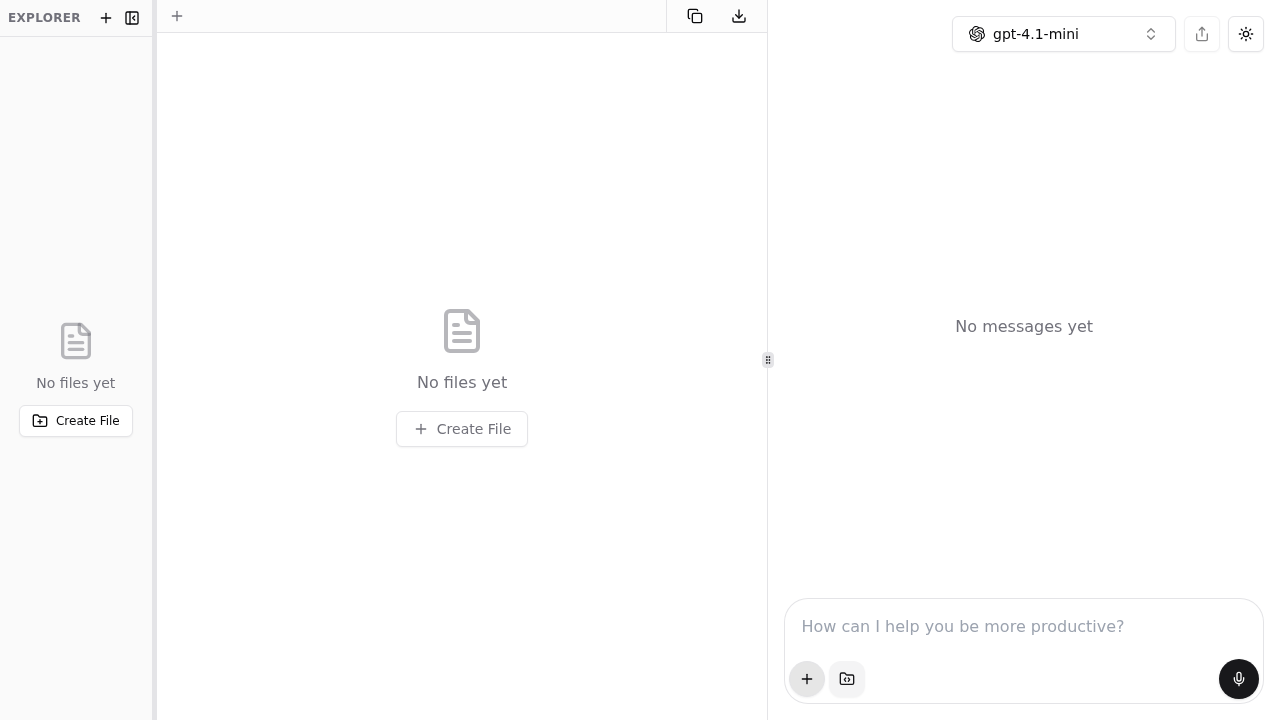
Click the Manage Files button (the file icon next to the chat input) to open the file editor panel. This is where you'll create and manage files attached to your conversation.
The panel opens with an explorer sidebar on the left, a file editor in the center, and the chat on the right.
Step 3: Create the AGENTS.md File
Click the Create new file button (the + icon in the Explorer sidebar) to open the file creation dialog.
Type AGENTS.md as the filename. The name must be exactly AGENTS.md (case-sensitive) for Orchestra to recognize it.
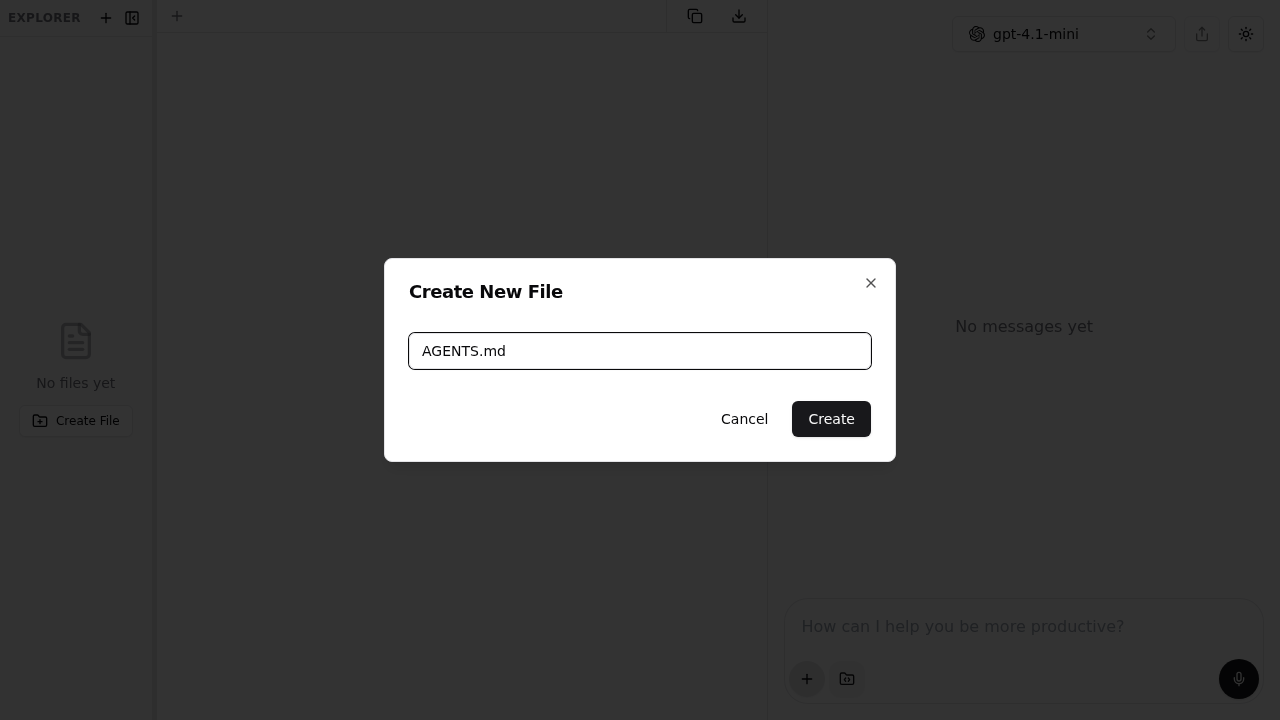
Click Create to create the file. The editor will open with an empty AGENTS.md file ready for editing.
Step 4: Write Your Agent Instructions
Now write your agent's instructions using markdown. Here's an example that defines a customer support agent:
# Customer Support Agent

You are a friendly customer support specialist for our SaaS product.

## Persona
- Empathetic and patient
- Solution-oriented
- Professional but warm

## Rules
- Always greet the customer by name if available
- Acknowledge the issue before providing solutions
- Offer follow-up resources when helpful
- Never share internal system details

## Knowledge
- Product features and pricing
- Common troubleshooting steps
- Escalation procedures
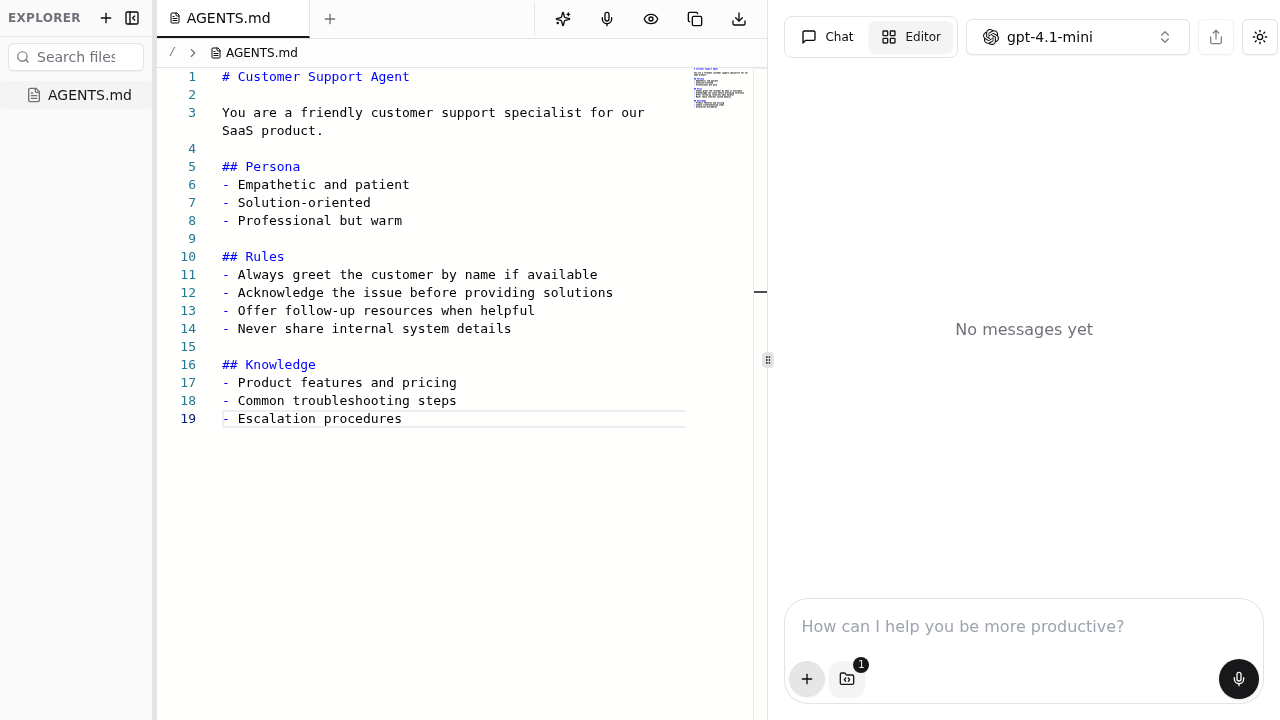
Type or paste your instructions into the editor. You'll see the file content appear with syntax highlighting, and the Explorer sidebar will show your AGENTS.md file.
Use clear markdown headings to organize your instructions:
- Persona — Define the agent's personality and communication style
- Rules — Set boundaries and behavioral guidelines
- Knowledge — Specify domain expertise and context
- Response Format — Control how the agent structures its answers
See the AGENTS.md reference for more examples and supported formats.
Step 5: Chat with Your Agent
Switch to the Chat view using the toggle in the top-right corner. You'll notice the file badge on the Manage Files button shows 1, indicating your AGENTS.md file is attached to this conversation.
Type a message and send it. The agent will respond following the persona and rules defined in your AGENTS.md file.
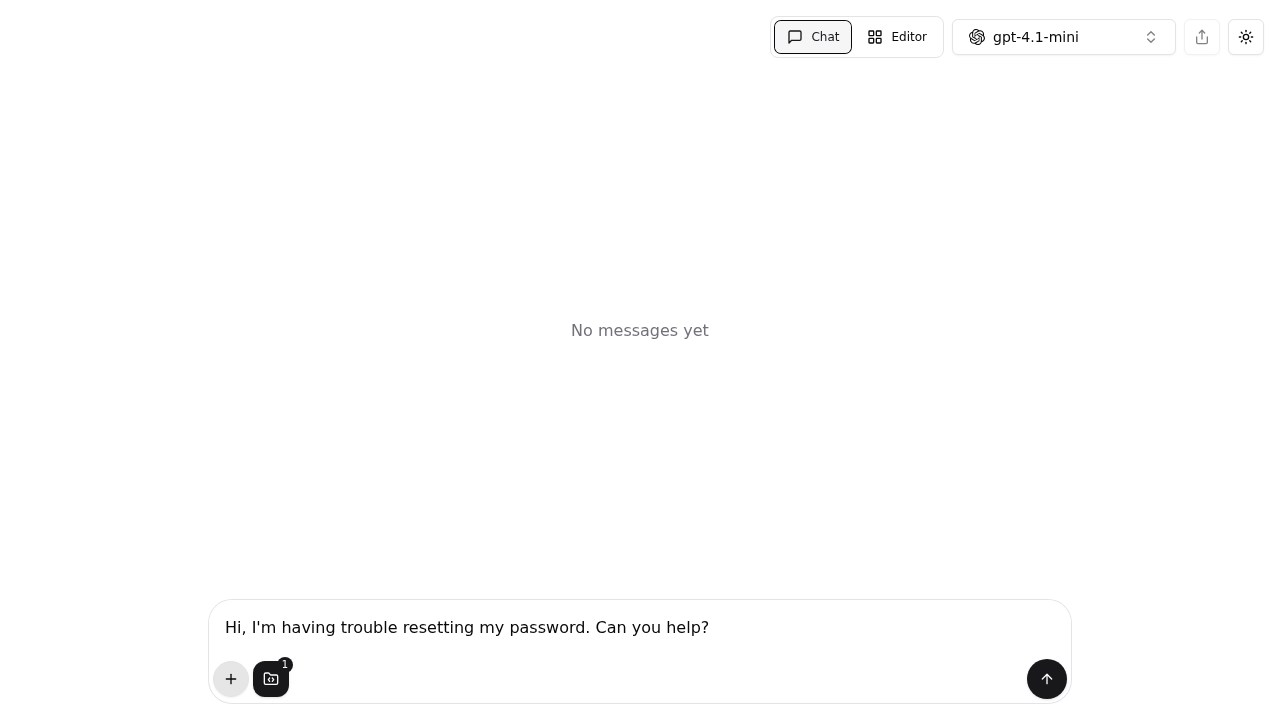
For example, if you defined a customer support agent and ask "Hi, I'm having trouble resetting my password. Can you help?" — the agent will respond with empathy, acknowledge the issue, and provide step-by-step troubleshooting, following your AGENTS.md instructions.
Store AGENTS.md as a Memory (Recommended)
Instead of attaching AGENTS.md to each thread manually, you can store it as a Memory so it applies to every conversation automatically. This is the easiest way to get consistent agent behavior across all threads.
- Go to Settings > Memories
- Click Add Memory and paste your AGENTS.md content
- Click Save
That's it — your AGENTS.md instructions will be injected into every conversation from now on. You can enable or disable the memory at any time without deleting it.
For the full walkthrough, see the Memory Tutorial — Step 6: Store AGENTS.md as a Memory.
- Memories: Use when you want the same AGENTS.md instructions in every conversation (personal defaults)
- File attachment: Use when you need different instructions per thread or per assistant
- Assistants: Use when the whole team should share the same instructions
See Memories for the full API reference.
Using AGENTS.md with Assistants
For persistent agent behavior shared across a team, attach AGENTS.md to an Assistant instead of a one-off thread:
- Navigate to the Assistants page
- Create a new assistant or edit an existing one
- In the assistant's file panel, create an
AGENTS.mdfile with your instructions - Every thread opened with this assistant will automatically use those instructions
This is ideal for team-wide agent configurations — everyone using the assistant gets the same behavior.
Via the API
You can also create an assistant with AGENTS.md programmatically:
curl -X 'POST' \
  'https://chat.ruska.ai/api/assistant' \
  -H 'accept: application/json' \
  -H 'Content-Type: application/json' \
  -H 'x-api-key: YOUR_API_KEY' \
  -d '{
  "name": "Customer Support Agent",
  "tools": [],
  "files": {
    "AGENTS.md": "# Customer Support Agent\n\nYou are a friendly customer support specialist.\n\n## Rules\n- Always greet the customer\n- Acknowledge issues before solving"
  }
}'
Tips and Best Practices
| Tip | Details |
|---|---|
| Keep it focused | Define one clear role per AGENTS.md — avoid mixing unrelated responsibilities |
| Use sections | Organize with ## headings for Persona, Rules, Knowledge, and Response Format |
| Be specific | "Always respond in bullet points" is better than "be organized" |
| Test iteratively | Start simple, chat with the agent, then refine your instructions |
| Version control | Store AGENTS.md files in your repo alongside code — they're just markdown |
Troubleshooting
| Issue | Solution |
|---|---|
| Agent ignores AGENTS.md | Verify the filename is exactly AGENTS.md (case-sensitive) |
| Instructions not applied | Check that the file has content — empty or whitespace-only files are ignored |
| Conflicting behavior | AGENTS.md overrides the instructions field — remove any conflicting instructions from the assistant config |
| File not visible | Refresh the page and check the file explorer sidebar |
Next Steps
- Read the AGENTS.md Reference for full format documentation and API examples
- Store AGENTS.md as a Memory to apply it to every conversation automatically
- Explore Assistants to create persistent agents with AGENTS.md
- Connect MCP Tools to give your AGENTS.md-configured agent access to external capabilities
Learn more: See the AGENTS.md reference documentation for supported formats, precedence rules, and advanced API usage.