Getting Started with Orchestra
Welcome to Orchestra! This guide walks you through the complete onboarding process — from creating an account to configuring your AI assistant with persistent memories.
What You'll Learn
- How to create an account or sign in
- Navigating the Orchestra interface
- Configuring your default AI model in Settings
- Creating your first memory
- Adding AGENTS.md as a memory for consistent agent behavior
Prerequisites
- A modern web browser
- An Orchestra instance (e.g., chat.ruska.ai)
Step 1: Create an Account or Sign In
Navigate to your Orchestra instance. You'll see the landing page with a chat input and two options at the bottom:
- Get Started Free — create a new account
- Sign in — log into an existing account
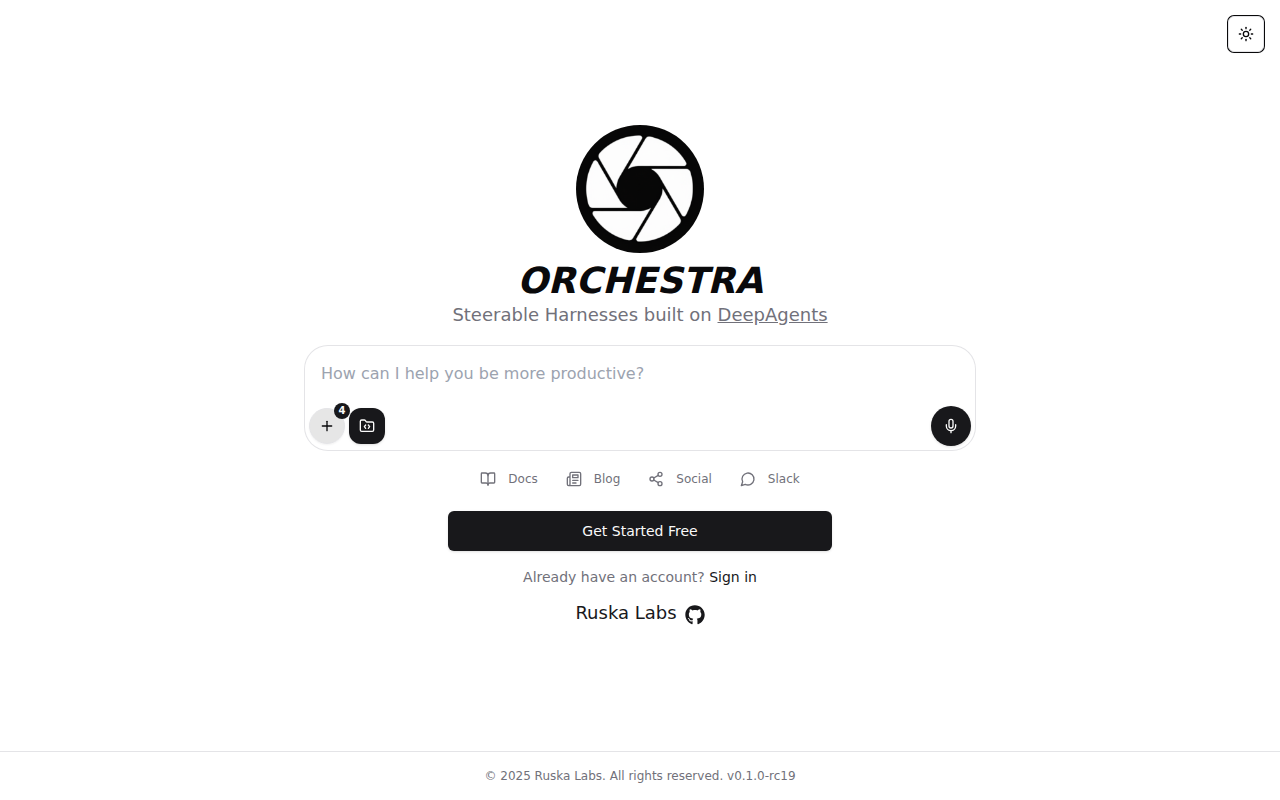
Click Get Started Free to register, or Sign in if you already have an account.
Sign In
On the login page, enter your credentials:
- Email: Your registered email address
- Password: Your password
You can also sign in using GitHub or other configured OAuth providers.
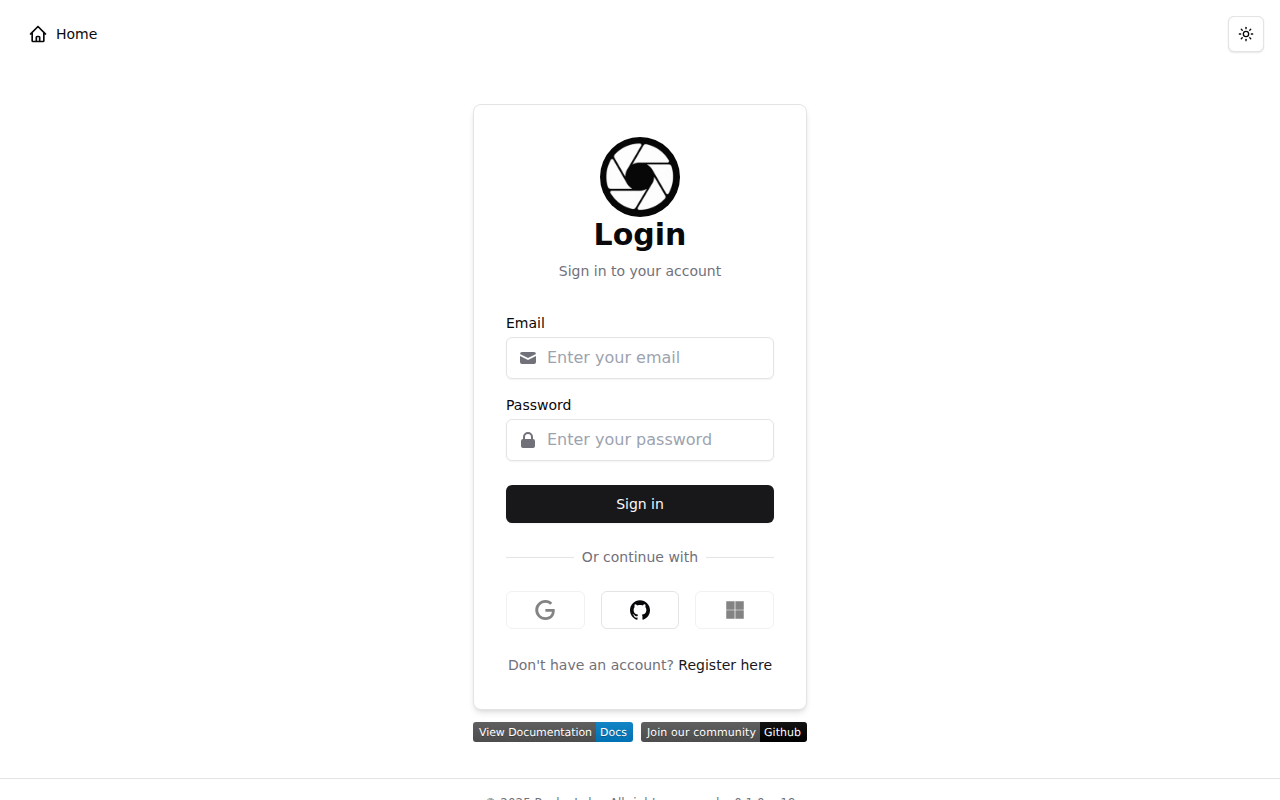
Click Sign in to continue. You'll be redirected to the main chat interface.
Step 2: Explore the Interface
After signing in, you'll land on the main chat page. Here's what you'll see:
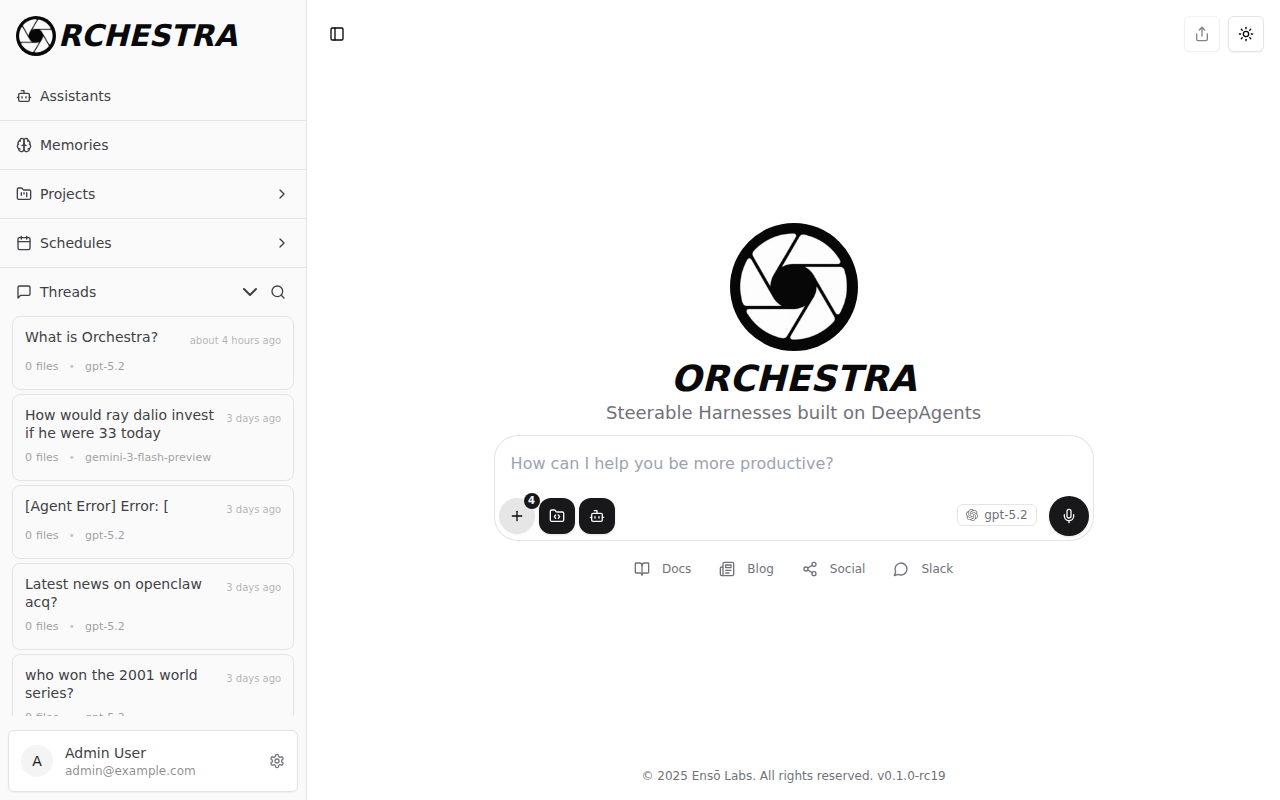
Sidebar (Left)
- Assistants — browse and select pre-configured AI agents
- Memories — manage persistent context that the AI remembers across conversations
- Projects — organize document indexes for knowledge bases
- Schedules — set up scheduled agent tasks
- Threads — view and resume previous conversations
Main Chat Area (Center)
- Text Input — type your message or question here
- Tools Button (the number badge) — view and manage available tools
- Manage Files — attach files to the current conversation
- Assistant Selector — pick a pre-configured assistant (or use the default)
- Model Indicator — shows the current AI model (click to go to Settings)
Top Bar
- Toggle Sidebar — collapse or expand the sidebar
- Share Thread — share the current conversation
- Theme Toggle — switch between Day, Dusk, and Night themes
User Menu (Bottom-Left)
Your username and email are shown at the bottom of the sidebar. Click the gear icon next to it to open Settings.
Step 3: Configure Your Default Model
Click the model name next to the chat input (e.g., "gpt-5.2") or the gear icon in the bottom-left to open the Settings page.
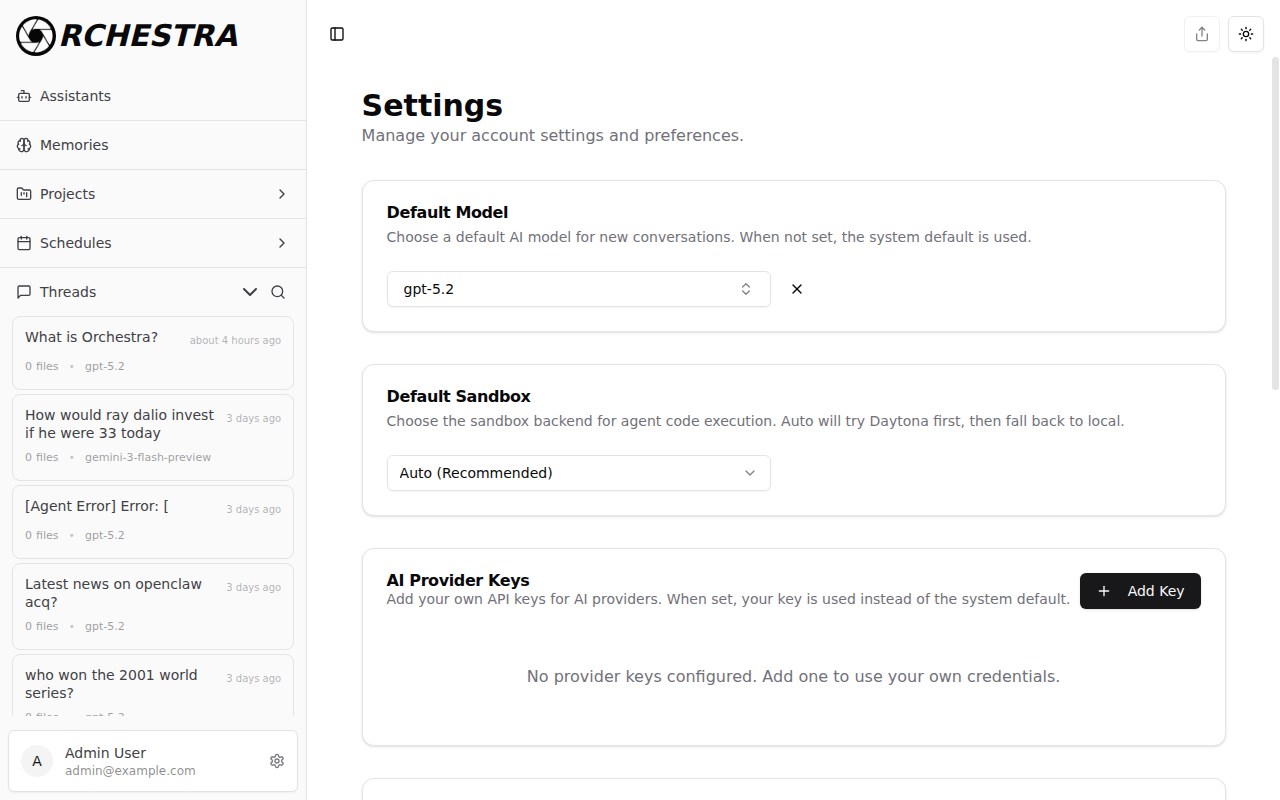
The Settings page includes:
- Default Model — choose which AI model is used for new conversations. Use the dropdown to select from available models across providers (OpenAI, Anthropic, Google, Groq, xAI, AWS Bedrock).
- Default Sandbox — choose the code execution backend for agent tasks. Choose between "State (Default)" for local execution, "MCP Sandbox" for isolated Docker-based execution (configure URL and optional API key inline), or "Daytona" for cloud sandboxes.
- AI Provider Keys — add your own API keys to use your credentials instead of the system default.
- Claude Sonnet 4.5 — balanced performance for complex reasoning
- Claude Haiku 4.5 — fast and cost-effective for simple tasks
- GPT-5.2 — excellent all-around performance
- Gemini — strong multi-modal capabilities
Step 4: Create Your First Memory
Memories are persistent context snippets that Orchestra automatically injects into every conversation. Navigate to the Memories page by clicking Memories in the sidebar.
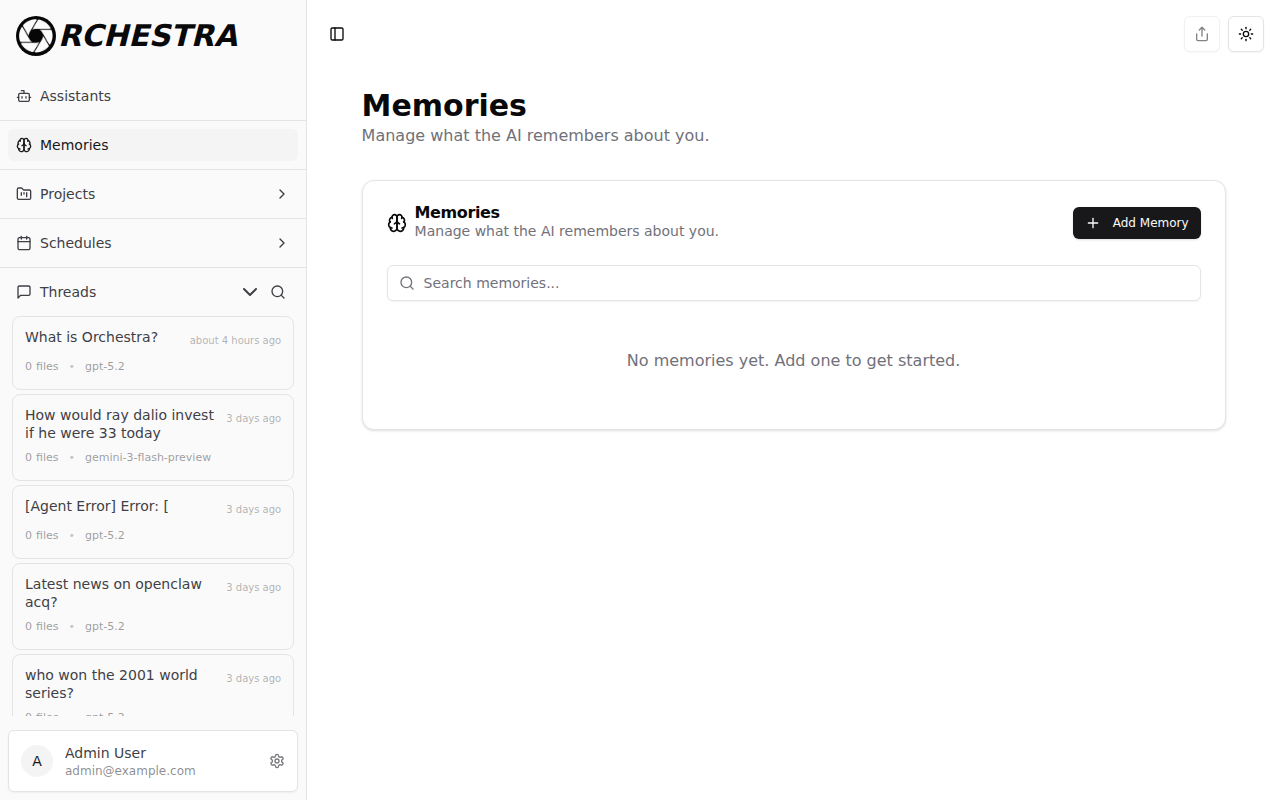
Click Add Memory and enter context you want the AI to always know. For example:
I prefer Python for backend development and TypeScript for frontend. My timezone is America/Chicago.
Click Save. The memory is now stored and will be applied to all future conversations.
Without memories, you'd need to repeat your preferences in every new conversation. With memories, the AI already knows your context before you type a single message.
For a detailed walkthrough of creating, editing, and deleting memories, see the Memory Tutorial.
Step 5: Add AGENTS.md as a Memory
The most powerful use of memories is storing an AGENTS.md file — a markdown document that defines how your AI agent should behave. When stored as a memory, these instructions are automatically applied to every conversation.
- Go to the Memories page
- Click Add Memory
- Paste your AGENTS.md content. For example:
# My Project Agent

You are a senior engineer working on our project.

## Rules
- Follow PEP 8 conventions
- Always write tests for new code
- Use type hints for all functions

## Persona
You are concise, pragmatic, and focused on shipping quality code.
- Click Save
The AI will now follow these instructions in every conversation — no need to attach the file manually each time.
Attaching an AGENTS.md file to a thread only applies to that single conversation. Storing it as a memory applies it everywhere. Use memories for your default instructions, and file attachment when you need thread-specific overrides.
For more details on the AGENTS.md format and how it works, see AGENTS.md. For a step-by-step guide on storing it as a memory, see Memory Tutorial — Step 6.
Step 6: Send Your First Message
Navigate back to the chat page by clicking the Orchestra logo in the top-left corner. Type a message in the text input and press Enter:
Example first messages:
What is Orchestra and what can it do?Help me write a Python function to calculate fibonacci numbersWhat's the latest news about AI development?(requires search tool)
The AI will respond using your selected model, and if you created memories, it will already know your preferences.
What's Next?
Now that you're set up, explore these features to get the most out of Orchestra:
- Assistants — create specialized AI agents with specific instructions, tools, and personalities
- Memories — learn more about persistent context and the API
- AGENTS.md — configure agent behavior through markdown
- MCP Tools — connect to external tools via the Model Context Protocol
- A2A Agents — enable multi-agent workflows with Agent-to-Agent protocol
- Storage & RAG — upload documents for retrieval-augmented generation
- API Documentation — build custom integrations with the REST API
Getting Help
- Slack Community — get help from the community
- GitHub — report bugs or request features
- Docs — full documentation site