Tutorial: Configuring Memories
This tutorial walks you through adding memories via the Settings UI and verifying that they personalize your chat experience. By the end, your AI assistant will remember your preferences across all conversations.
Prerequisites
- An Orchestra account at chat.ruska.ai
Step 1: Navigate to Settings
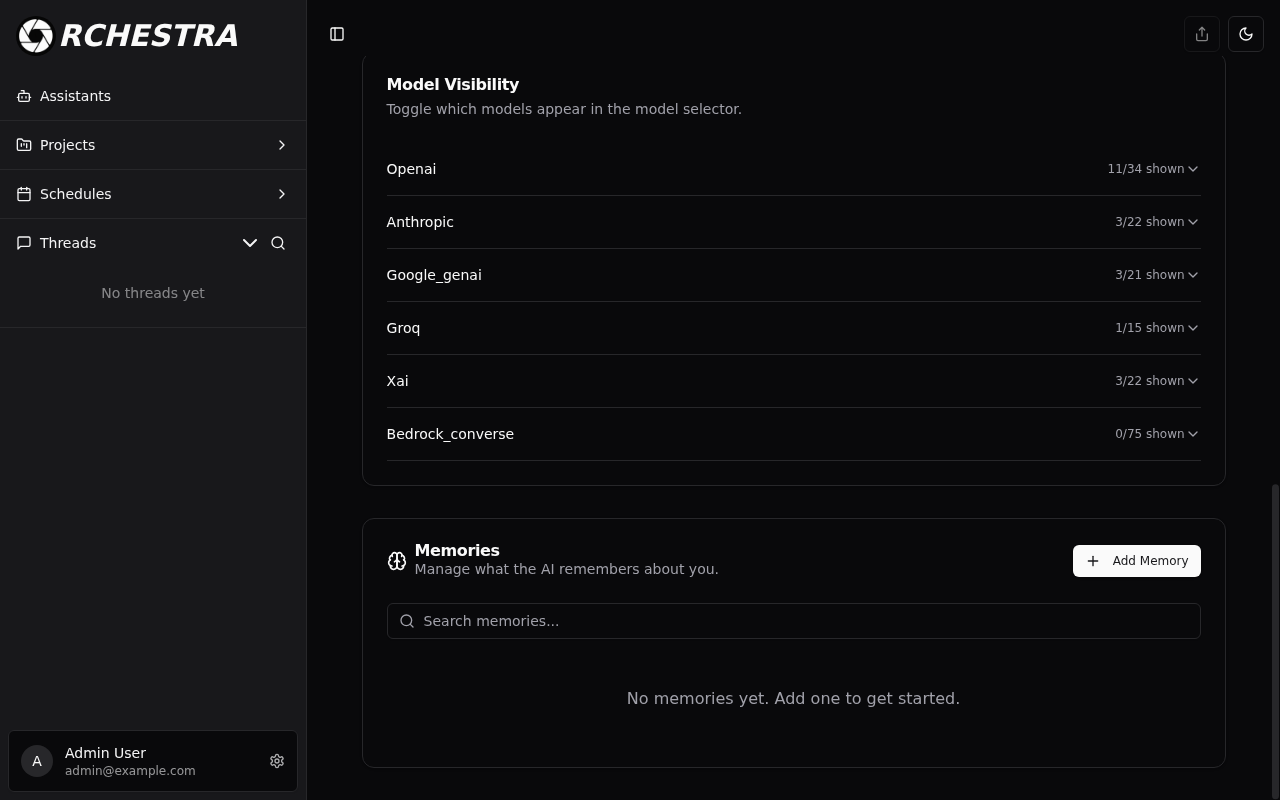
Open Orchestra and click on Settings in the sidebar navigation. Scroll down to the Memories card. When no memories have been created yet, you will see an empty state with the message "No memories yet. Add one to get started."
The Memories card includes:
- A search bar for filtering existing memories
- An Add Memory button in the top-right corner
- A memory list (empty on first visit)
Step 2: Add a Memory
Click the Add Memory button to open the memory editor dialog. Enter the context you want the AI to remember. For example:
I prefer Python for backend development and TypeScript for frontend. My timezone is America/Chicago.
You can use memories for any persistent context: preferences, project details, reminders, or instructions.
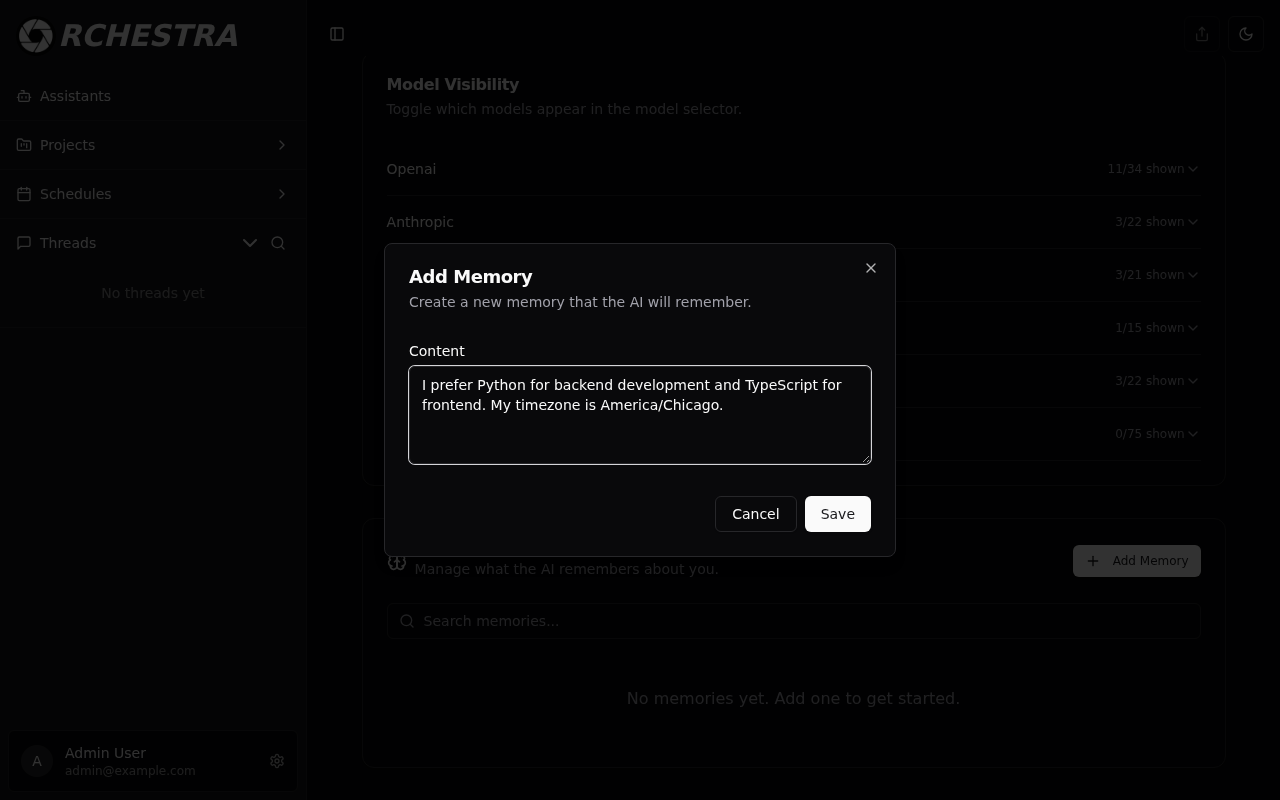
Click Save to store the memory.
Step 3: Verify Memory Created
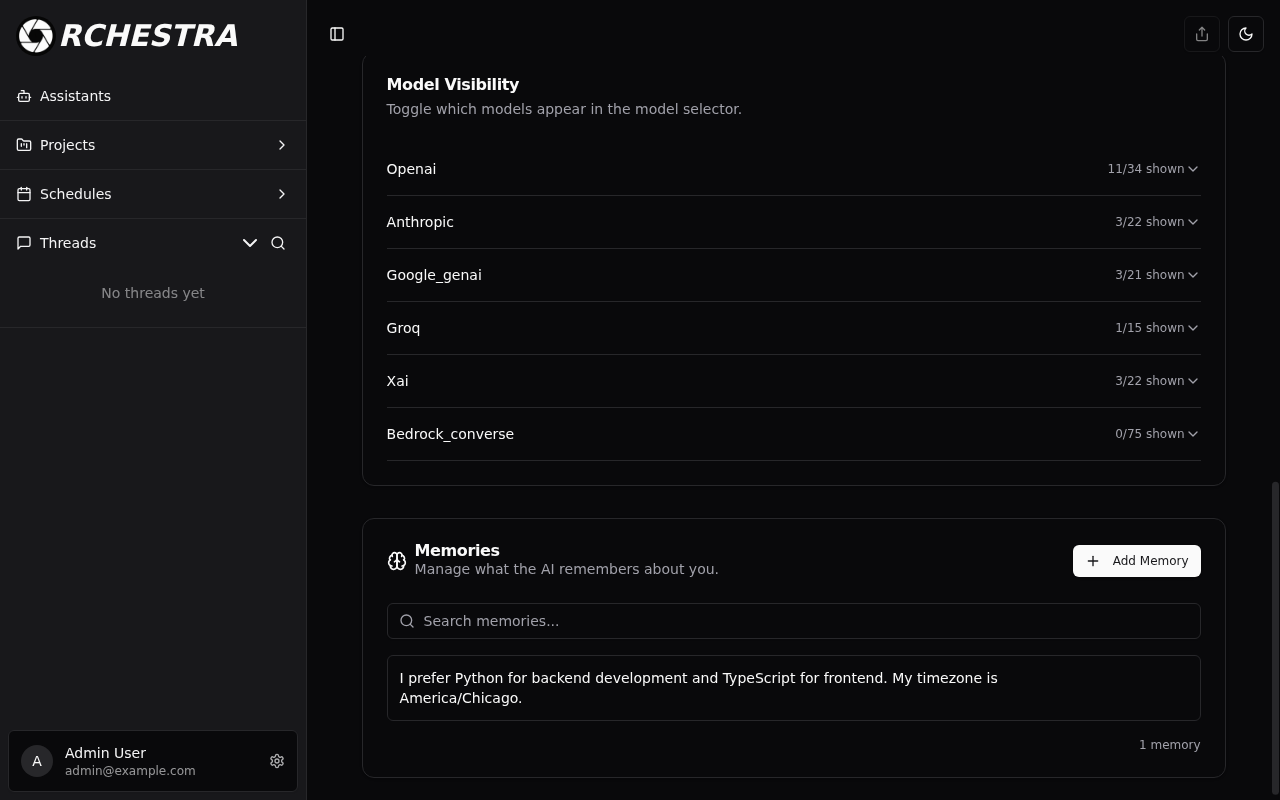
After saving, the memory appears in the list on the Settings page. You can see the memory content and a count of total memories at the bottom-right of the card.
Step 4: Test in Chat
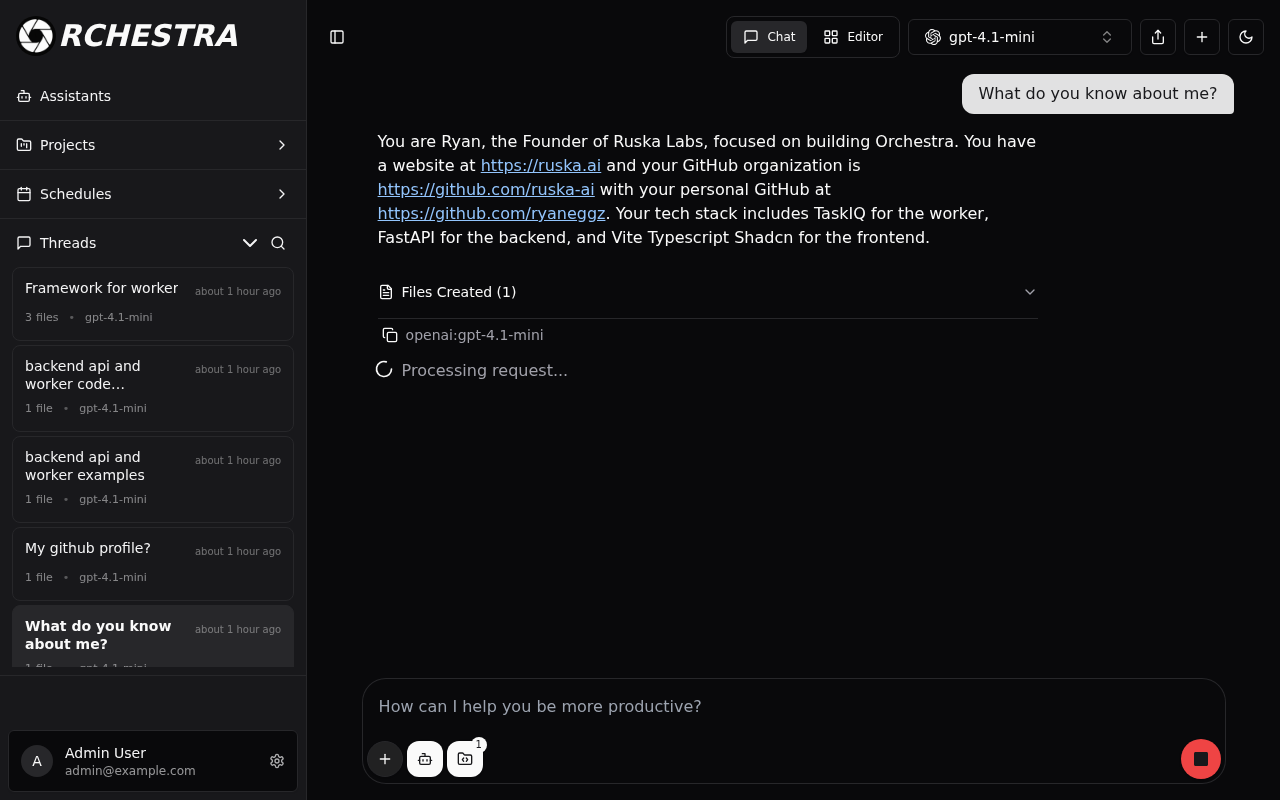
Navigate to the chat interface and start a new conversation. Send a message that relates to something you stored in your memories, such as:
What programming languages do I prefer?
The assistant will reference your stored memory and respond with personalized information — without you needing to repeat your preferences.
Step 5: Managing Memories
You can edit or delete memories at any time from the Settings page:
- Edit: Hover over a memory and click the pencil icon to open the editor dialog with the existing content pre-filled. Make your changes and click Save.
- Delete: Hover over a memory and click the trash icon. A confirmation dialog will appear asking "Are you sure you want to delete this memory? This action cannot be undone." Click Delete to confirm or Cancel to keep the memory.
You can also use the search bar to filter memories by content when you have many stored.
You can create as many memories as you need. All of them are automatically injected into every conversation, so keep each memory focused on a single topic for best results.
Step 6: Store AGENTS.md as a Memory
Memories aren't limited to simple preferences — you can store an entire AGENTS.md file as a memory. This is the recommended way to give all your conversations consistent agent instructions without attaching the file manually each time.
Why Store AGENTS.md as a Memory?
When you attach an AGENTS.md file to a thread via the file panel, it only applies to that single conversation. By storing your AGENTS.md content as a memory instead, it is automatically injected into every conversation, giving all your agents the same instructions by default.
How to Do It
- Click Add Memory in the Settings > Memories card
- Paste your AGENTS.md content into the memory editor. For example:
# My Project Agent

You are a senior engineer working on our project.

## Rules
- Follow PEP 8 conventions
- Always write tests for new code
- Use type hints for all functions

## Persona
You are concise, pragmatic, and focused on shipping quality code.
- Click Save
The memory is now stored and will be automatically injected into every conversation as a file in the agent's context. The agent reads this content just as if you had attached an AGENTS.md file to the thread — but without any manual step.
Toggling AGENTS.md Memories
You can enable or disable any memory without deleting it. This is useful when you want to temporarily turn off your AGENTS.md instructions for certain workflows — hover over the memory and use the toggle to disable it.
Each memory is stored with a path (e.g., AGENTS.md). When a conversation starts, Orchestra's prepare_memory_files() function fetches all enabled memories, converts them into files, and injects them into the agent's context. This happens automatically across all entry points — streaming, invoke, and distributed workers.
For more details on the AGENTS.md format, supported content structures, and precedence rules, see the AGENTS.md documentation.
For API reference and programmatic access, see Memories.